This is the sixth post in our series on how to use your Redman Real Estate Blog. You can read the other posts in the series here:
Blog How To Series
Once you are comfortable with your blog and posting regularly you may feel you’re ready to venture into customizing your sites processes a bit to make it more streamline for you and your team. Please use caution when changing these settings, they can potentially break your site if you do not know what options you are changing.
If you are a current Redman client and do not have a blog but would like one, or if you want to become a Redman client please contact sales@redmantech.com or call 1.866.425.0022 today.
To edit the settings for your site, please follow the directions below. These instructions assume you are comfortable with using your blog already at this point.
Step One
To access the setting options for your blog, look along the left hand sidebar of your dashboard when logged in. The main title of ‘Settings’ when clicked, will expand to show you the different areas you can alter.

Step Two
In the general settings tab, you will see an option for the Site title and the Tag line. These 2 boxes are where you can set the name and line that a search engine reads when indexing your site. These names appear no where on the actual blog (visible to your clients) but are seen by the spiders that decide where to rank your website in a search.
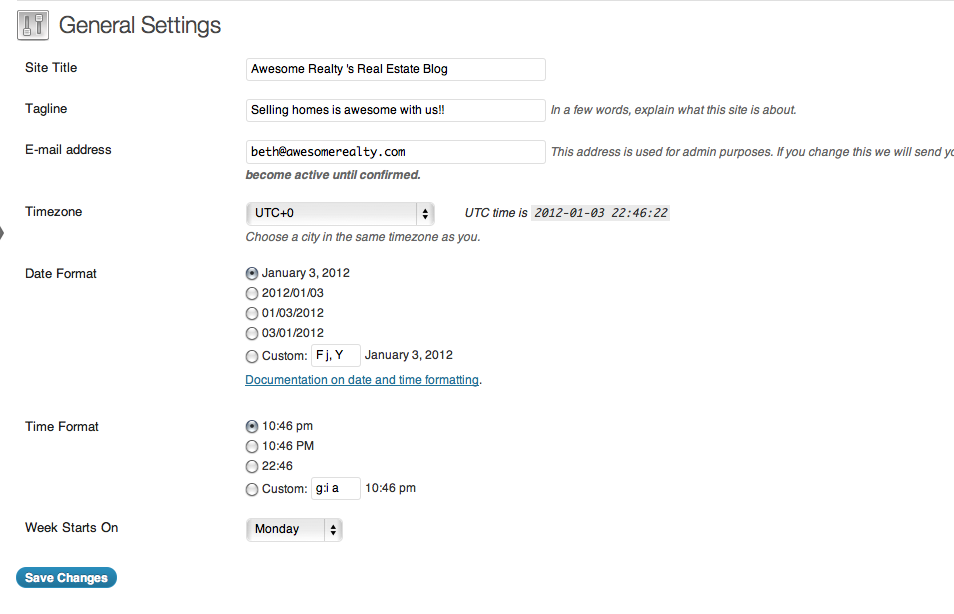
In both these areas you want to put something that contains key words, and is unique to your blog/sites marketing.
The general tab also contains the options to change how dates are shown on your blog and when the week starts if you’re using the Calender Module.
Step Three
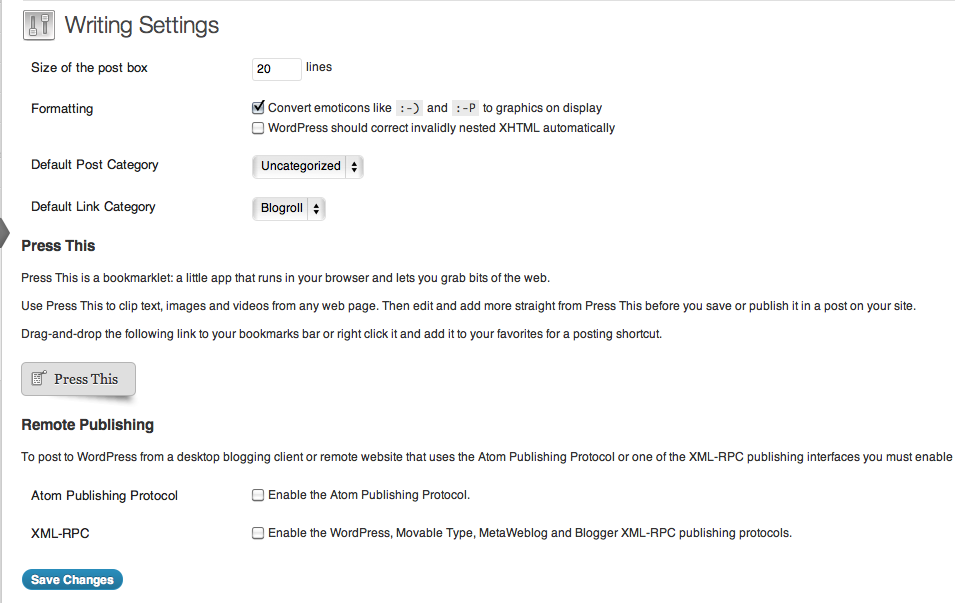
If you are organizing your blog with Categories, there is an option to change which one is default in the Writing Settings tab. Some other options available here are the Size of Post Box (Where you write your blog post), the allowance of emoticons, Press This, and Remote Publishing.
Press This is a bookmarklet: a little app that runs in your browser and lets you grab bits of the web. Use Press This to clip text, images and videos from any web page. Then edit and add more straight from Press This before you save or publish it in a post on your site.
Remote Publishing is used to post to WordPress from a desktop blogging client or remote website that uses the Atom Publishing Protocol or one of the XML-RPC publishing interfaces you must enable them.
Step Four
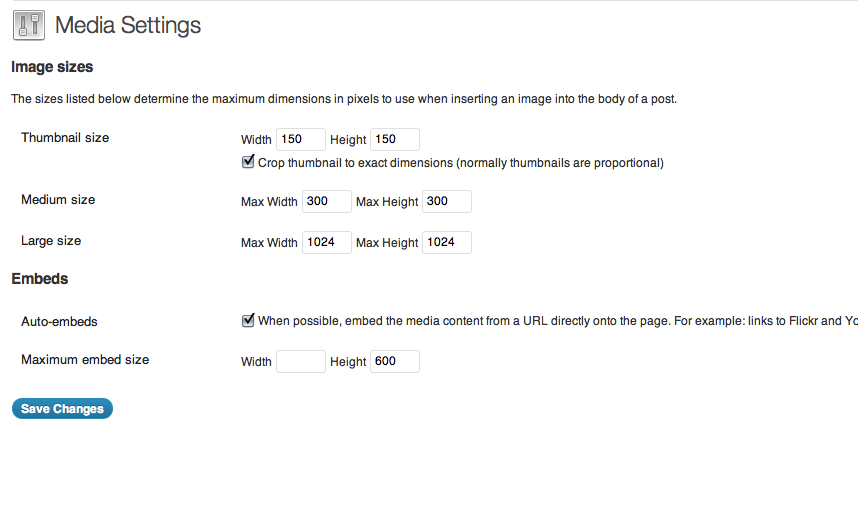
The Media Settings tab allows you to set the default sizes for the different images that you upload. If you like doing large bold images, you may want to increase the default size of the large option to 600 (The average width of our blogs).
Step Five
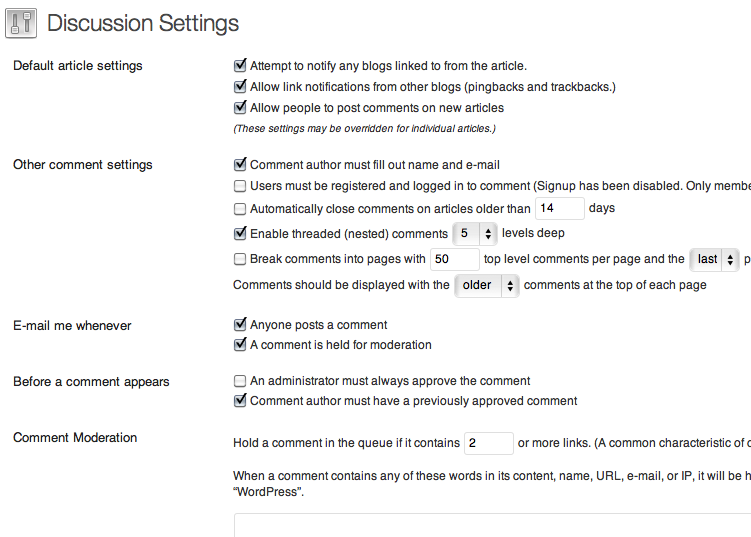
The Discussion Settings area of your site is where you can control the different ways your users can interact with you. There is also an area to control what notifications you receive when people do post.
Step Six
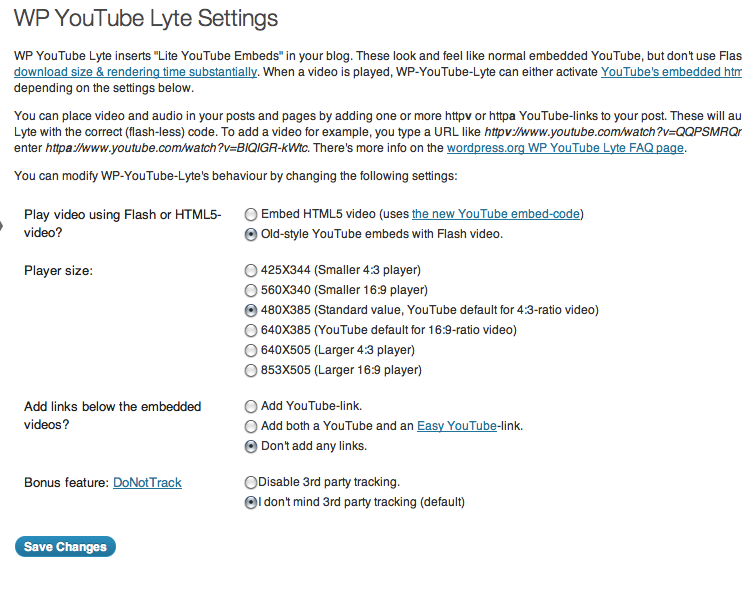
If you are making use of the YouTube Lyte Widget for your blog’s sidebar, the WP YouTube Lyte Settings tab is where you can customize how it works.
Step Seven
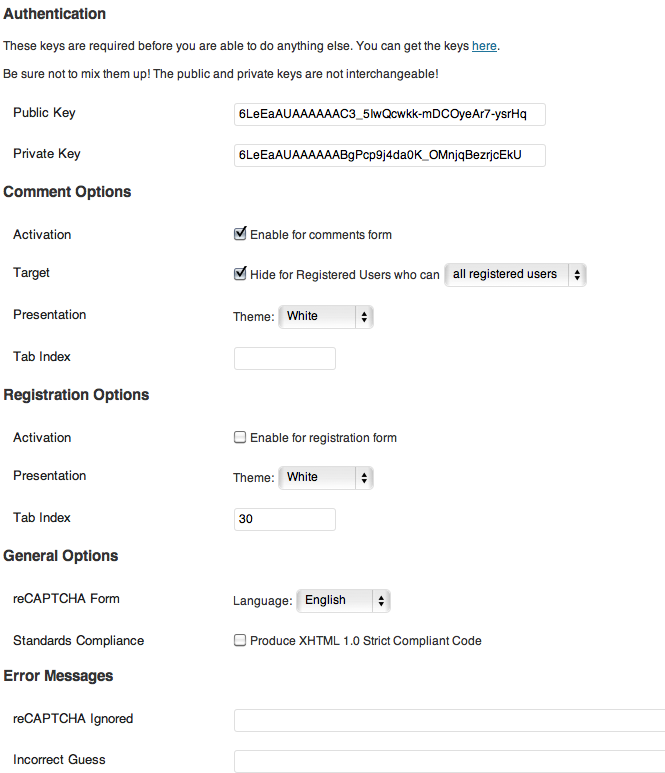
Finally we have the Captcha Settings tab. A captcha is those squares of wiggly text that you have to type in before submitting a comment to help prevent and reduce the amount of spam your blog gets. We highly recommend you do not make any alterations to this panel unless you know what you’re doing.
This is the final post in our Redman Blog How To Series. If there is a topic or question you would like covered about the Redman Blogs or any of the other Redman products, write us a comment below! We would love to hear from you.
To learn more about how to use your Redman Blog, check out the Redman Tech Support Site for helpful tips and tutorials.
Want to know why a blog is so important? Read our previous posts on How Blogging Can Boost Your Business and Why Content Matters So Much To Your Real Estate Clients.
Sign-up For FREE Updates